We’ve heard stories about the looming cables that ascend 400 ft up the enormous rock that marks the mid-way point of Half Dome.
“It’s not safe,” they say.
“It isn’t for the faint of heart,” others chip in.
This guide will tell you step by step how to prepare for your full day hike at Half Dome in the Yosemite National Park. It’s important to follow these steps to ensure safety while out in the woods for 10-16+ hours. Preparedness truly affects experience. Nobody wants to be the one who runs out of water halfway through. 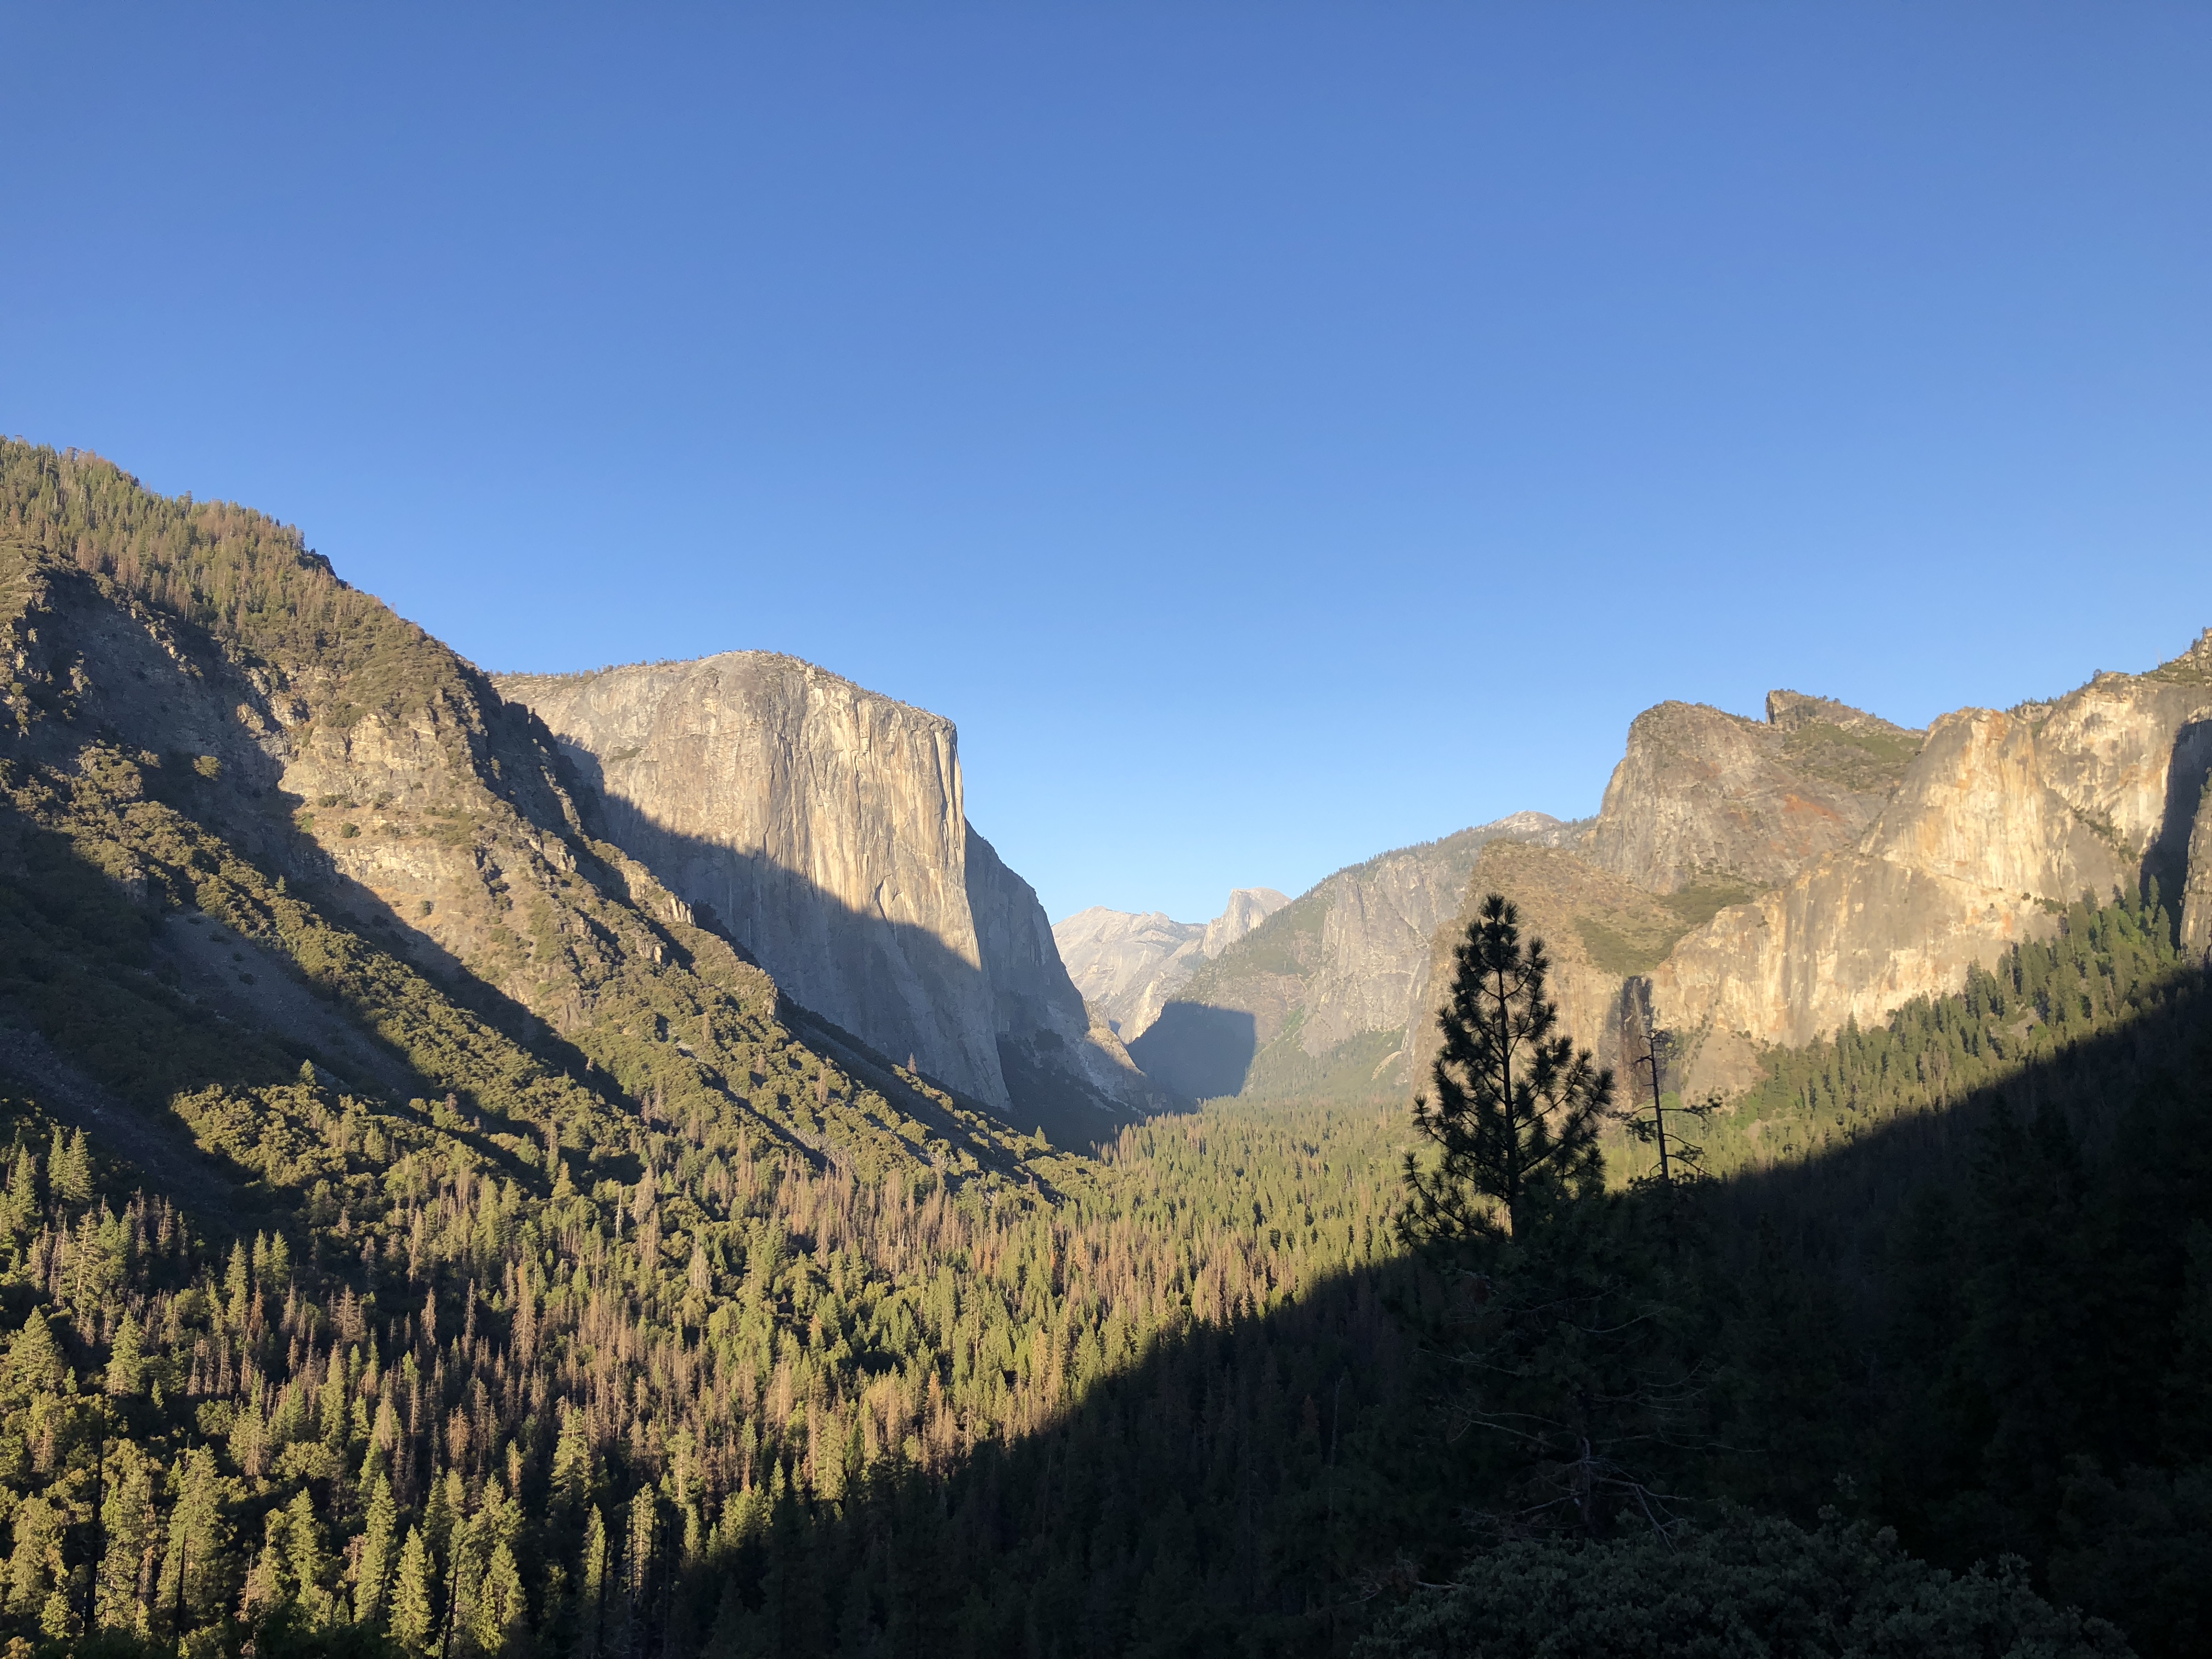
The Mountains are Calling
A couple things to pre-Half Dome hike to understand:
- You must have a permit to hike Half Dome. You can find more information about the Half Dome lottery here.
- Buy appropriate hiking shoes. Running shoes are not recommended. I bought a solid pair of Vasque Breeze III Mid GTX hiking boots the night before and had zero break in time. I ended the hike with zero blisters, and that’s quite telling after 12+ hours.
- After you have chosen your shoe, you need an appropriate wool sock. With the help of experts at REI, I was told “Darn Tough” was the ideal choice.
- Next, it’s important to choose a proper backpack with a hydration pack of 3.0 L or more. I went with a CamelBak Sequoia 22 which worked perfectly. It had enough space to add in a couple extra electrolyte waters to aid in hydration. You’ll want at least 4.0 L for the hike.
- We chose a Black Diamond spot headlamp in case of the chance we didn’t make it down the mountain before sunset.
- Buy Aegend lightweight running gloves, which has grip for the cables.
- Most importantly, the food! I recommend going with Pro Bar as a meal replacement, as well as Bobos Lemon Poppyseed bars. Believe me, the poppyseed is the best flavor. We tried coconut and chocolate and poppyseed took the cake. Throw in some beef/turkey jerky, assorted nuts, sandwiches, and some hydration packets and you are good to go.
- The night before, try and stay at the Half Dome village, which is only a short walk from the entrance to the hike. Click here.
- Try and sleep by 9 PM the night before so you get ample sleep to wake up at 4:30 AM. You want to be on the trail by 5:00/5:30 AM to leave enough time to get back before sunset. The hike is 16 miles roundtrip, which will take anywhere from 10+ hours, depending on fitness levels.
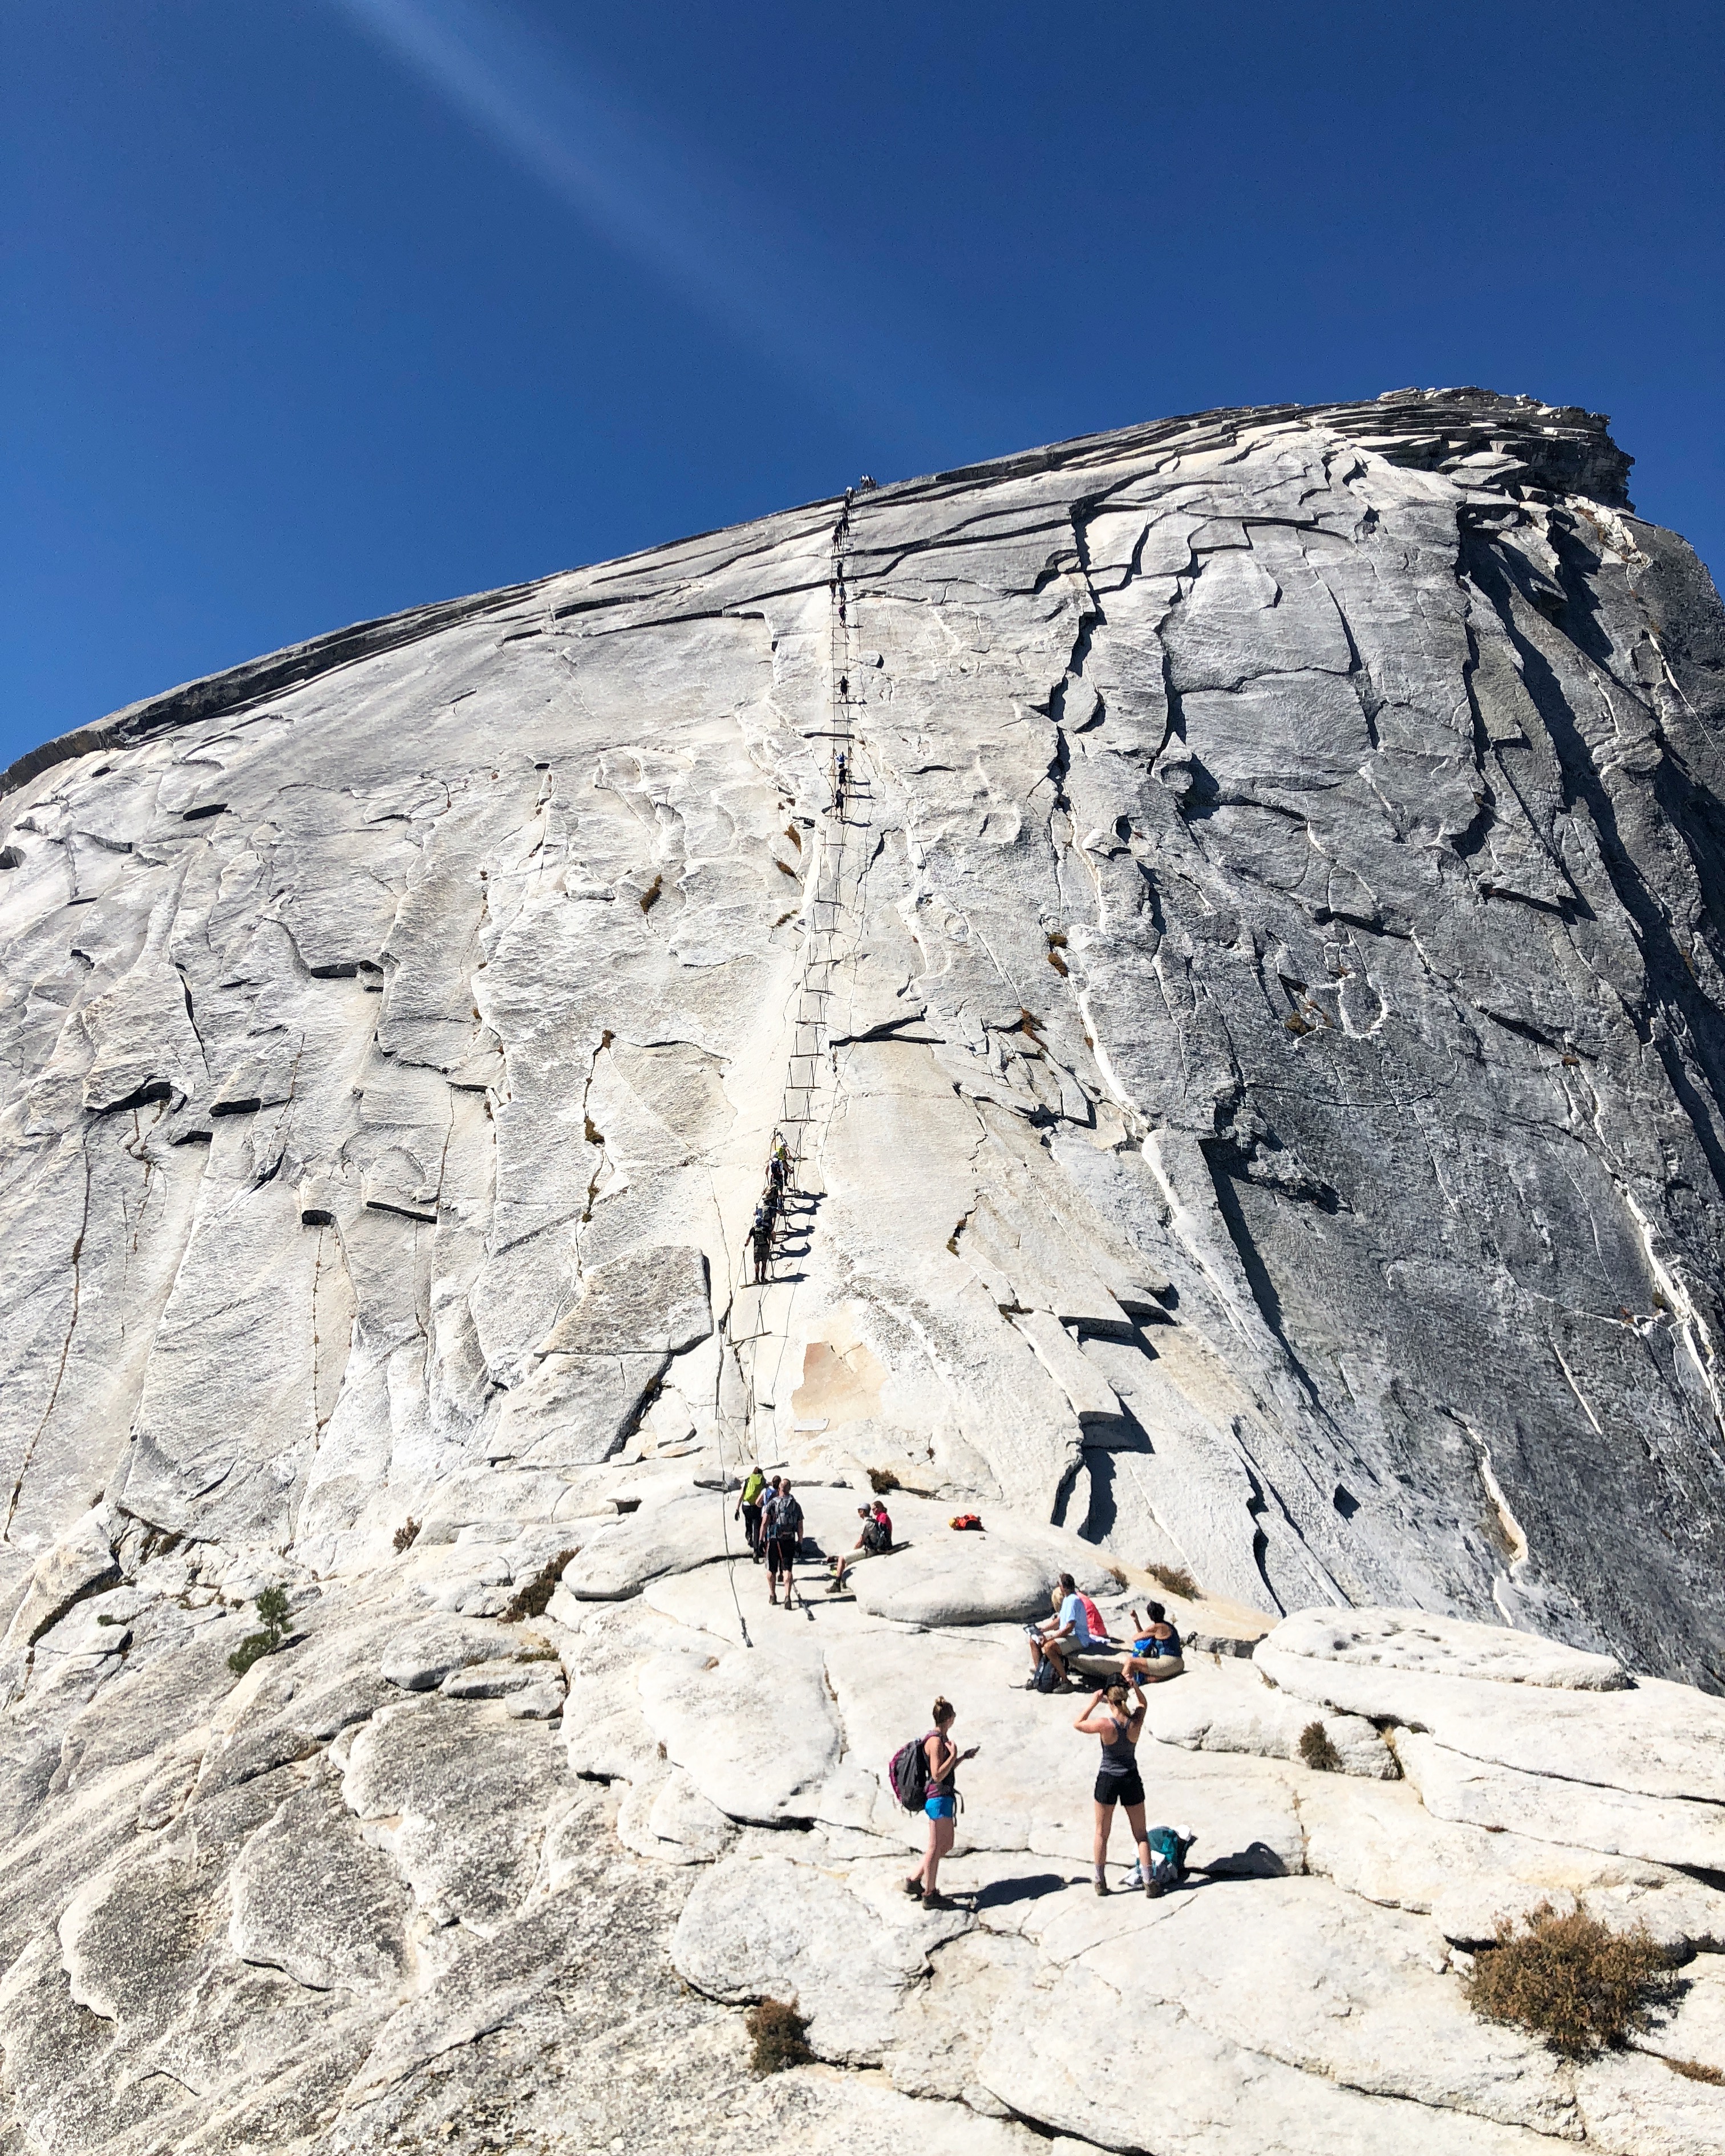 John Miur Would be Proud
5/6 hours into the hike, 1.5 L down, 2 lemon poppyseed bars, and one Pro bar later, we found ourselves face to face with the notorious cables. We pulled out our gloves and clung to the metal ropes and never looked down. It’s terrifying. Going up, you will be using your arm strength predominately to pull yourself up. Going down, you will grip your little hands so hard on the rope to make sure your weight is balanced while you repel down. If you have repelling experience, you will be more comfortable with the position.
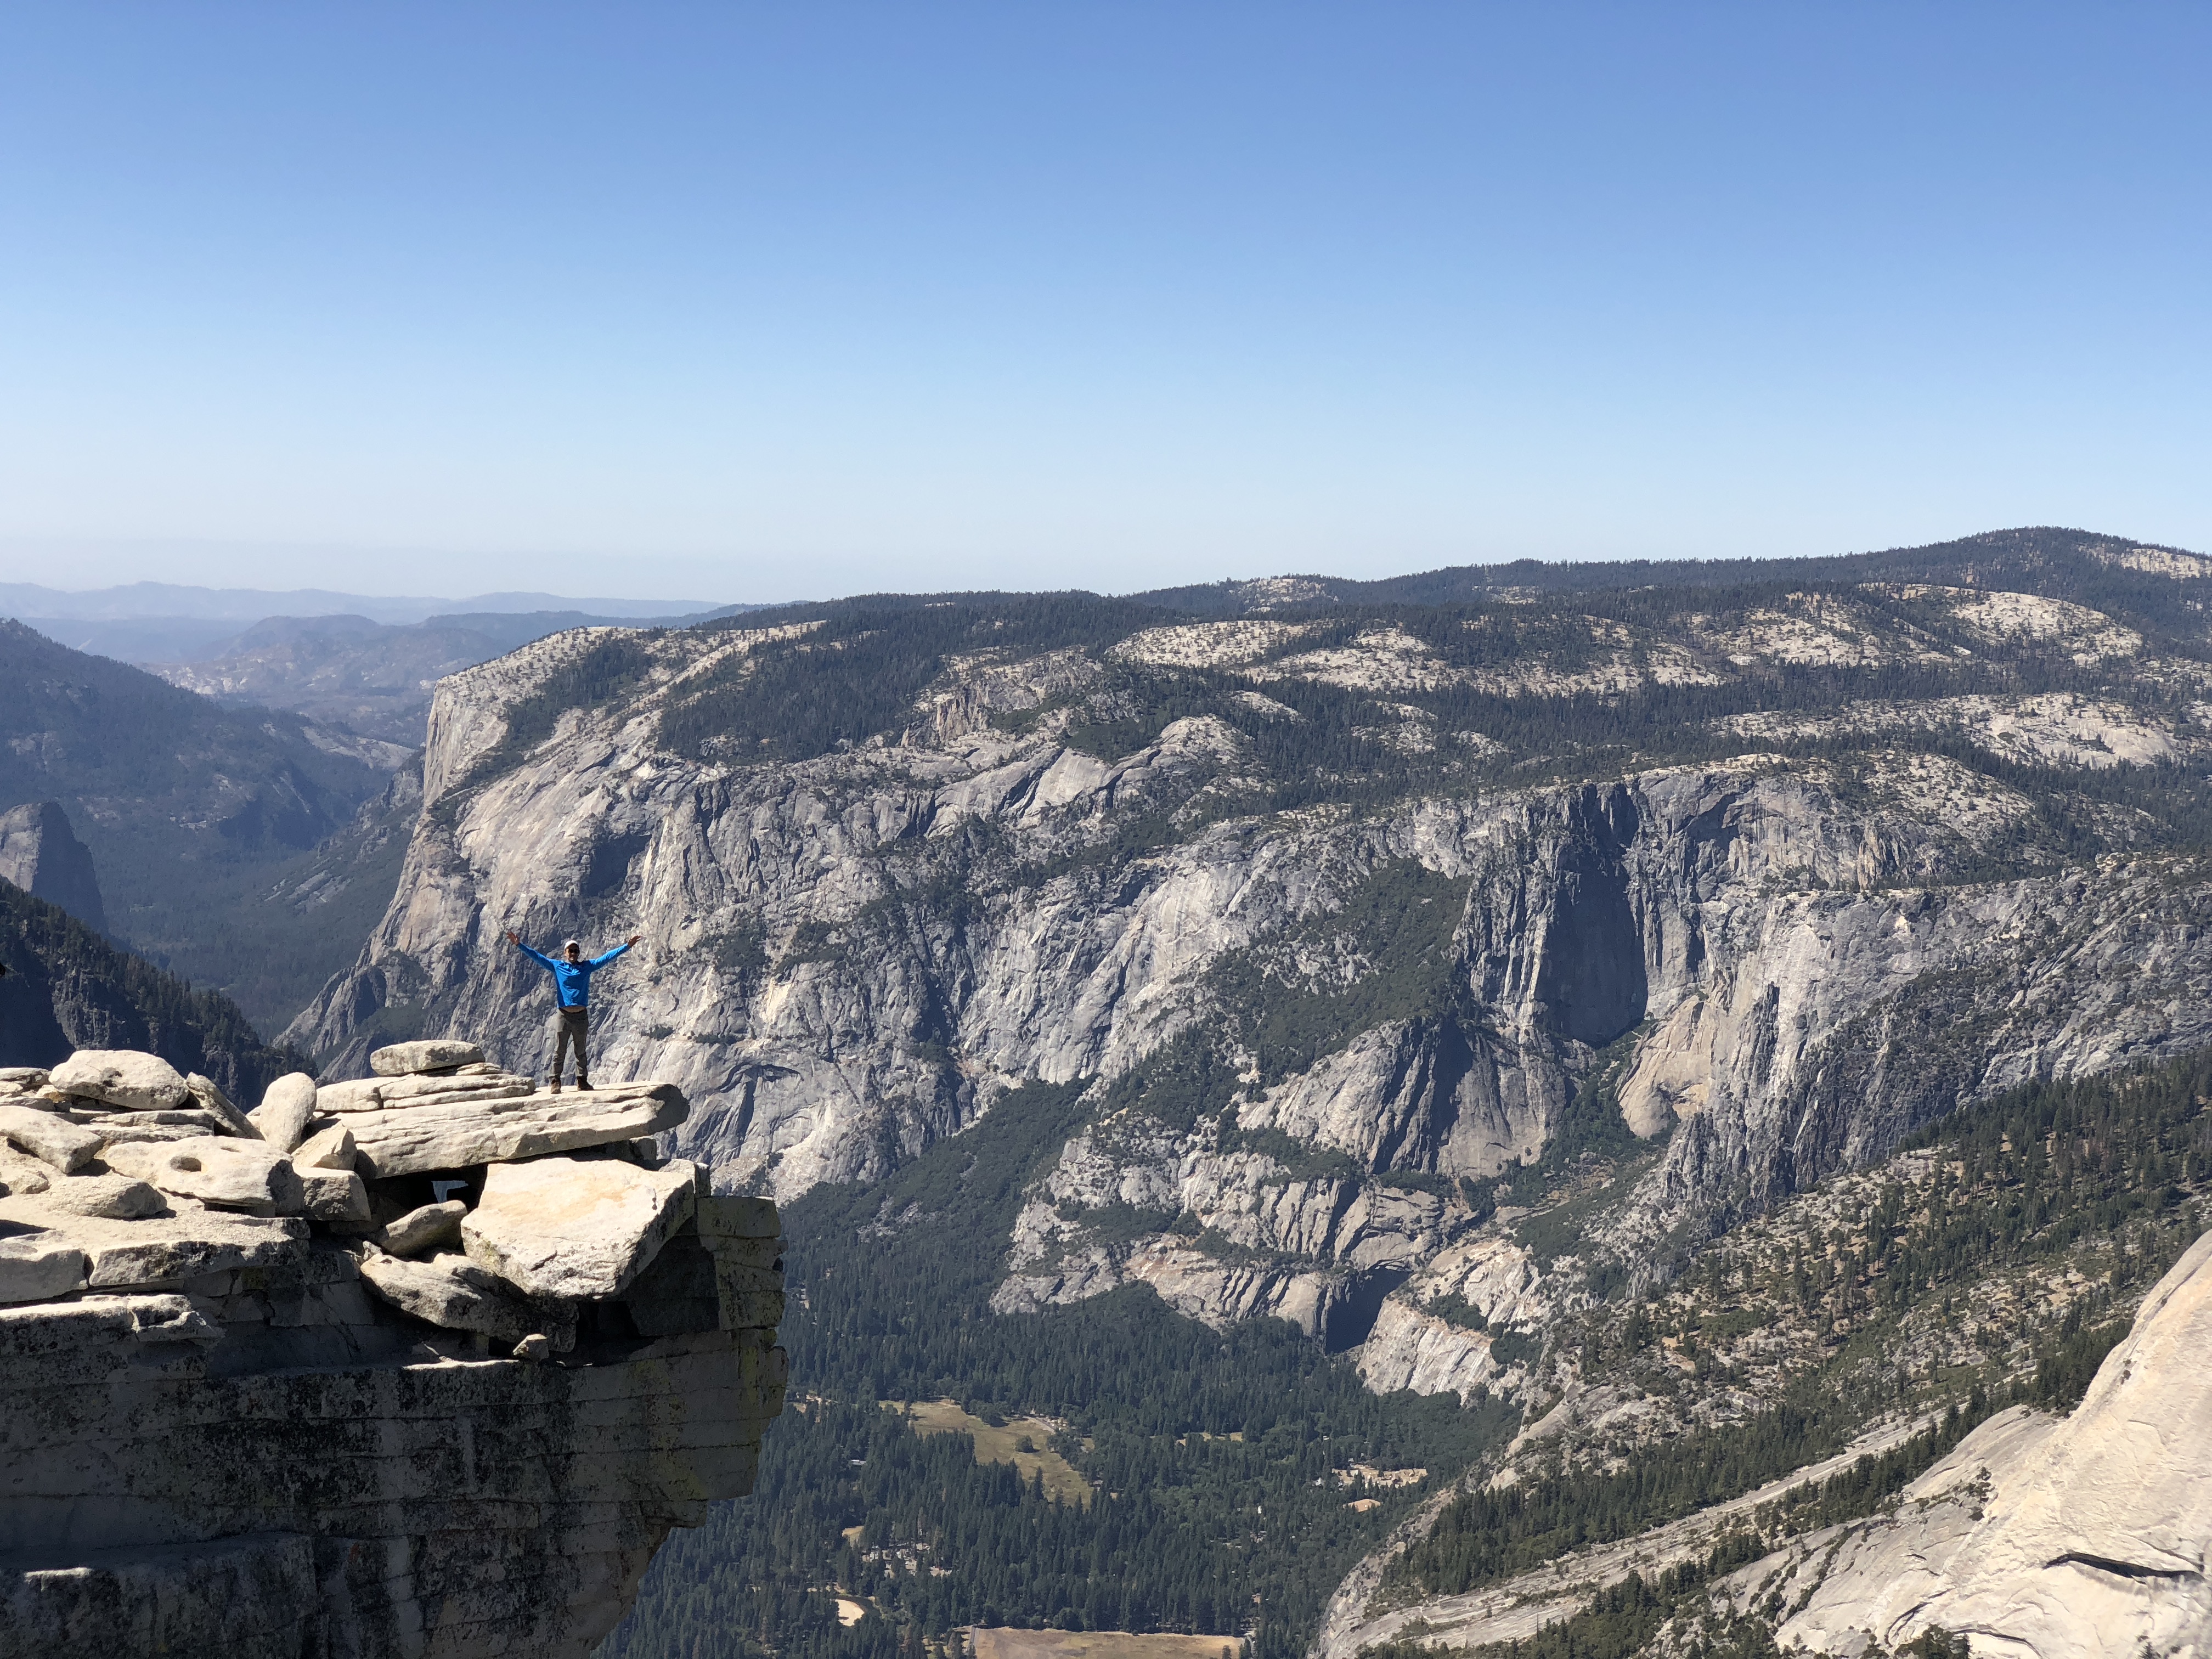
The Views Are Always Worth the Fight
At the top, you will be welcomed with 360 degree unparalleled views of Yosemite National Park. You’ll overhear people crying, laughing, hugging, and even FaceTiming. It’s quite the feat to get up the cables, and there’s nothing to prepare you for the out of body experience you’ll face while clinging on the cables and trying not to look down. Rest at the top, eat a sandwich, and prepare mentally for the second half of the hike. Check your water levels too!
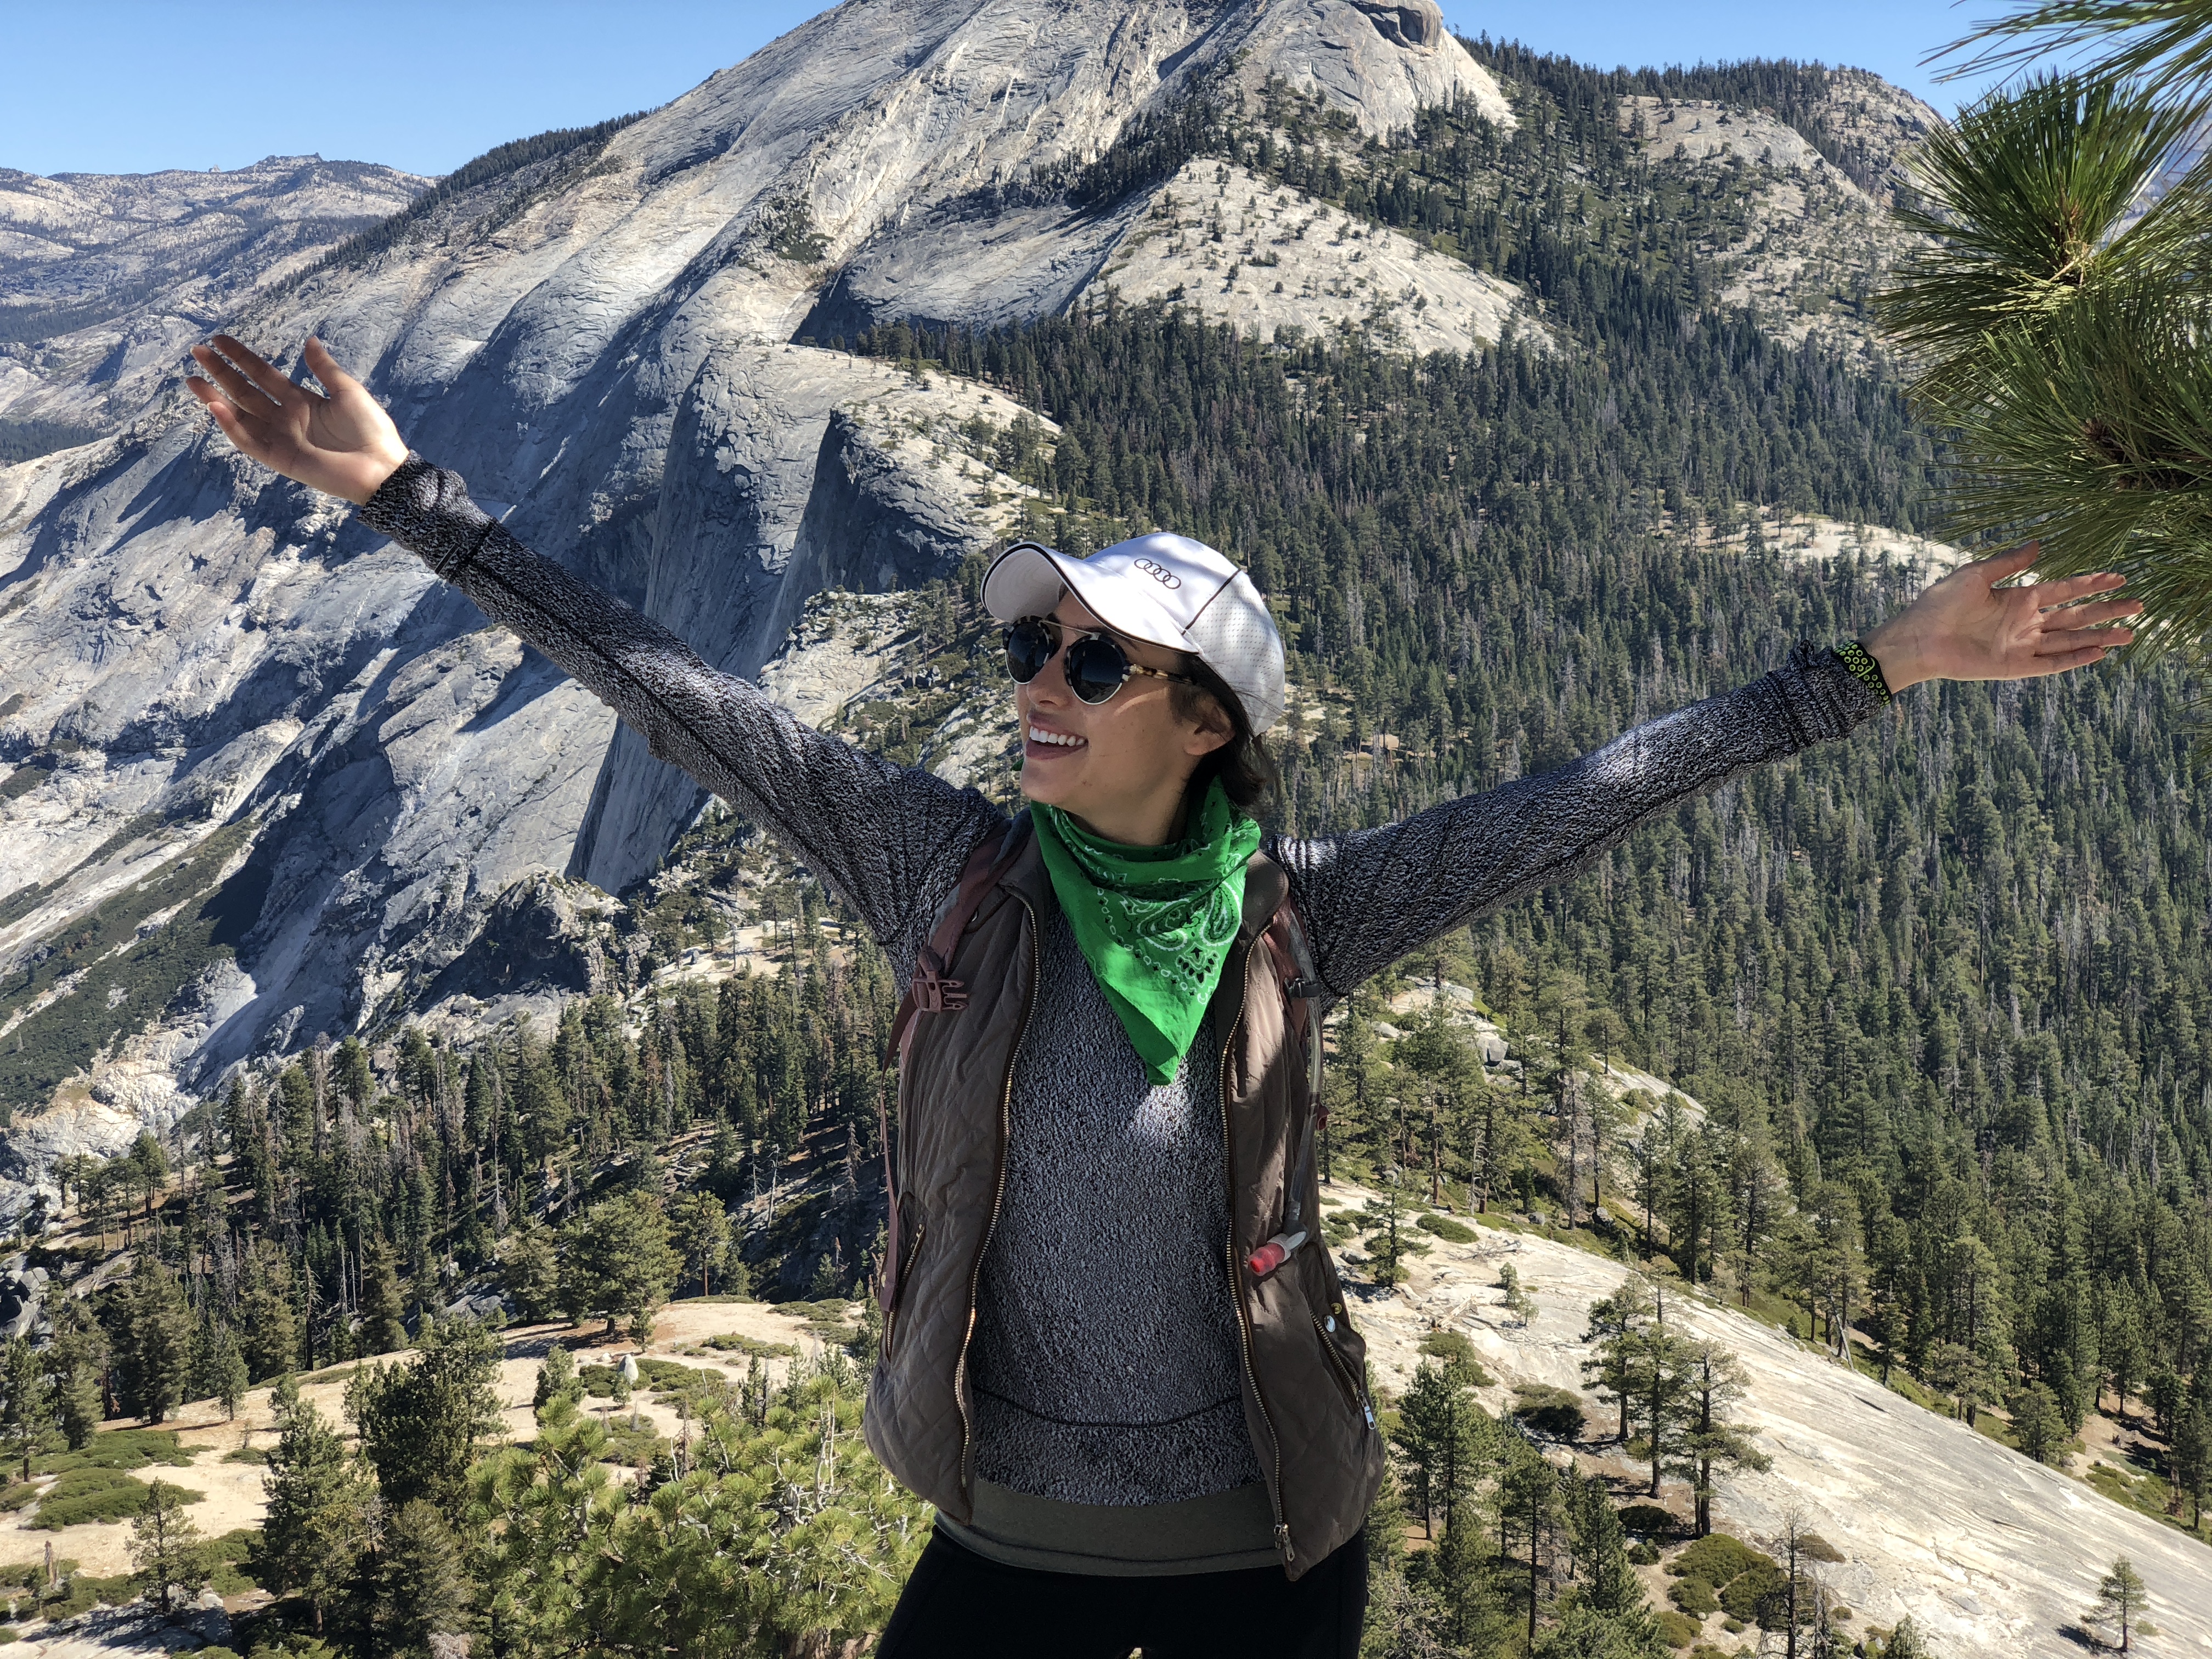
Postcard Views
People assume once they reach the top of Half Dome, they can relax and are on their leisurely way back. This is not the fact. The way down is still very steep and one should pay close attention to slippery, uneven pavement. Sub dome is the trickiest part, so this is where your Vasque hiking boots work their magic. Make sure you are stepping on the rock, and avoid the pebbles that have fallen in between. With that said, 5+ hours later, you will reach the bottom and will feel a sense of empowerment. I know I did! Your legs will be sore, you will be exhausted. Go to the Yosemite Valley Lodge cafeteria and refuel with some protein. Take a warm shower, and sleep early. You’ve earned it!
Want More Hikes?